There’s nothing better than the first warm day of spring. As the snow melts and the flowers begin to bud, there’s a sense of adventure in the air. This especially holds true for RVers, when spring means new campgrounds in new cities. Whether you’ve spent the winter with your RV in storage or parked your Class A on the coast of Florida, spring presents the perfect time to clean out your RV and start the real camping season off right. RV spring cleaning is the perfect way to get ready to hit the highway once again.
RV Spring Cleaning
Bathroom
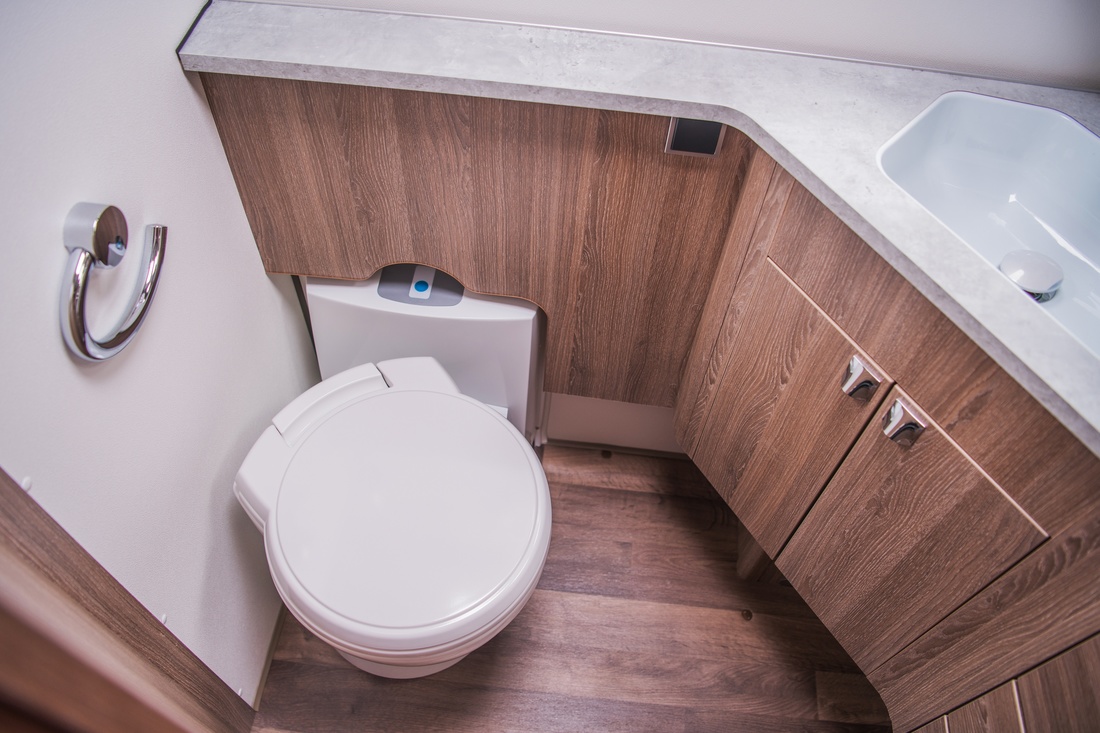
The first step of RV spring cleaning is the room that likely needs to be cleaned most often: the bathroom. It’s essential to keep your RV bathroom clean and dry to prevent mold and mildew growth. Start by pouring cleaner, or lemon juice and baking soda, into the toilet and letting it sit for 10 to 15 minutes before scrubbing it with a toilet brush. Then, spray your shower with a cleaner and give it a nice wipe down. Don’t use cleaners with bleach as these can degrade the seals in your RV’s tanks.

With the two biggest jobs out of the way, it’s time to grab some wipes or cleaner and microfiber cloth to scrub the countertops, as well as the exterior of the toilet. Try a vinegar spray to get your mirrors shiny and streak-free, or use a household glass cleaner. Finally, go through cosmetics, medicines and other toiletries you have stored in your bathroom. Check the expiration dates and consider the last time you actually used these products. Get rid of what you can to declutter your bathroom and start the season fresh.
Bedroom
The next step of RV spring cleaning is to tackle the bedroom. Though some things, like sheets, are washed routinely, this is a great time to take stock of what you have and clean things you’d normally leave alone. We recommend annually washing your mattress pad and any additional blankets. While you’re doing this, take the opportunity to rotate your mattress.
Grab a small hand vacuum or vacuum attachment to clean up the base of the bed and the mattress itself. You can also take the vacuum to the rest of the bedroom to get any dirt or crumbs up. Grab a duster and clean up any areas of the bedroom that are collecting dust, like the top of the TV. Finish cleaning up the bedroom by washing the sheets and doing any other routine cleaning.
Finally, take some time to go through your clothes. It’s good to consider questions like “Have I worn this in the past year?” If the answer is no, the item can probably be donated. Toss all the clothes you don’t wear into a donation box and make room for all the new clothes you’ll need this season!

Living Area
One of the most important steps of RV spring cleaning is dusting! Especially if your RV sat in storage over the winter. Grab a duster and go over all the nooks and crannies in your unit. This means behind the TV, around electronics, over the blinds, and under your décor. Next, use a cleaner and microfiber cloth to go over furniture and other surfaces that need to be washed. This includes wooden coffee or side tables that might need polishing.
After wiping down wooden furniture, take a vacuum attachment or hand vacuum to tackle the cloth furniture. Vacuum the tops of chairs and sofa cushions, then remove the cushions to vacuum up crumbs and dirt underneath.
Finally, tackle your RV’s vents and air conditioning filters. You can easily clean the fan-powered roof vent by removing the screen and washing it with warm water and soap. The same goes for the fan itself – wipe down the blades with the warm water rag. Clean or replace the unit’s air conditioning filter while you’re at it. Be sure to dry the screen, fan and filter before putting everything back together.

Kitchen
The first kitchen cleaning step is what you likely do routinely anyway: wiping down the counter and sink with your favorite cleaner. Once the basics are done, start RV spring cleaning by mixing a paste of water and baking soda. Use this paste on the inside of your oven, then allow it to sit overnight. You can use the same paste to clean the stovetop or range by coating it then wiping it away with a wet cloth.
Next, clean the range hood filter. Take the filters off and toss them in a bucket of warm water, a squirt of dish soap, and about a quarter cup of baking soda. Let the filters sit for about 10 minutes before scrubbing, rinsing, drying and replacing.
After this, it’s time to clean out the fridge. Use a soft sponge and warm water with dish soap. Wipe down the shelves, door and walls of the refrigerator. Make sure to get any crumbs and clean out all the nooks and crannies. Dry the fridge well with a towel before replacing your food items.
The last step is similar to the rest of your rooms: throw things out! Go through your pantry and fridge checking expiration dates. Anything that is past the recommended date should be tossed. You should also gather kitchen utensils that you don’t use and put them in the donate pile. Living in an RV means living compact. You don’t need to tote too many pots and pans all over the US. Keep only the items you actually use, and try not to double up on items.
Ceiling & Windows
While we covered cleaning the vents and air conditioning filters, there are still a few similar steps left. You should take the RV spring cleaning opportunity to do a simple wipe down of the ceiling. While doing this, keep a close eye out for discoloration or any other signs of leaks.
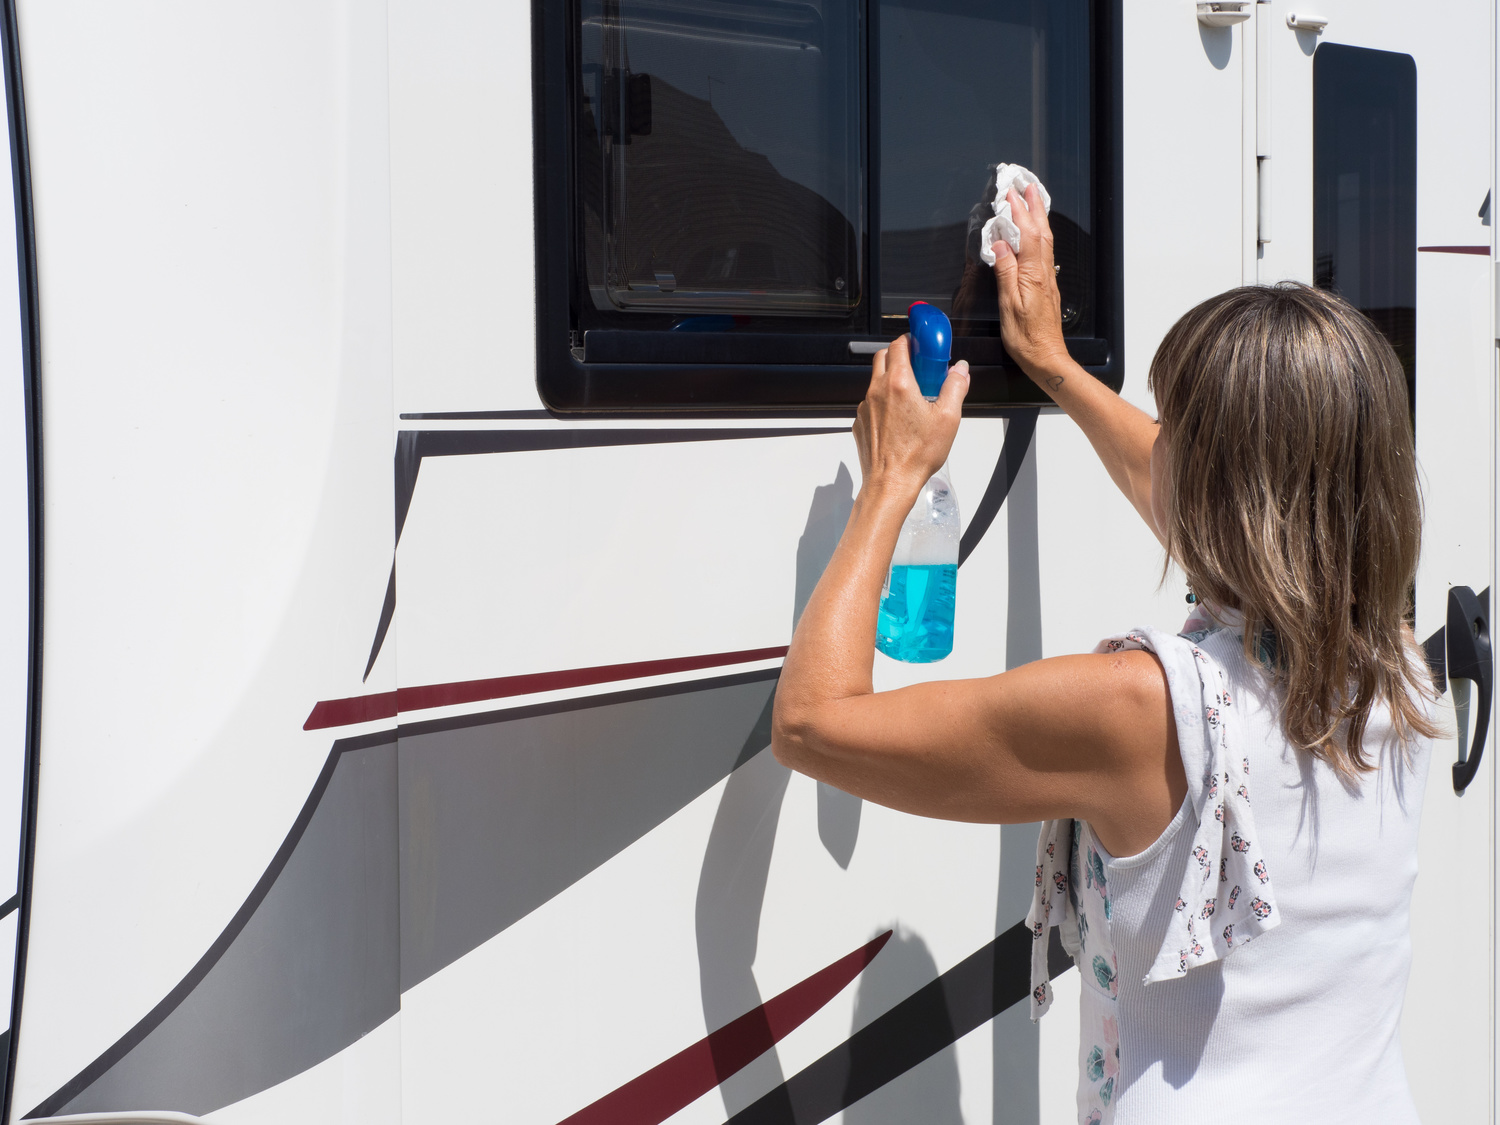
Next, it’s time to clean the windows inside and out. Start by taking off the screens and gently spraying them down outside. Leave them in the sun to dry while you take care of the glass. Use household window cleaner to wipe the windows from both the inside and outside before replacing the screens.

Floors
Before cleaning the floors, collect your throw rugs and shake them out. Let them sit outside in the sun while you handle the rest of the floor cleaning. Once the floor is cleared off, start with sweeping and/or vacuuming depending on the type of flooring you have. Mop where necessary, especially in the bathroom and kitchen. You may need to spot clean high-traffic or especially dirty areas like the entrance.
RV Exterior
After your motorhome’s interior is looking sparkly and new, it’s time to turn your attention to the exterior. Even if you stored or parked your RV under an awning, the cool spring temperatures create the perfect weather for examining and washing up your RV exterior. It’s a relatively easy last step of RV spring cleaning. Simply grab some brushes and your favorite auto cleaning product.
While you’re washing it down, we recommend taking this opportunity to check out the roof. When you climb on top of the RV, take a few minutes to check for cracks or leaky seals that may lead to water damage. And, of course, take a few minutes to give your RV awning a good cleaning as well.
After every room in your RV is spic and span, your RV spring cleaning is done! You should have a shining and well-organized unit to start the season. Take all your old clothes and other items to be donated, or thrown out if they’re too well-worn. Pull onto the highway this spring with a motorhome that looks like it just left the lot.
Ready to refresh your RV?
Call Bradd and Hall! We’re your go-to shop for custom, luxury RV furniture. Order your furniture today and add Elkhart, Indiana, to your road trip map for professional installation. Next winter, leave your RV with us for a total remodel. We’ll install furniture, replace floors and appliances and more. Visit our website to see our RV furniture for sale, or contact us to find out what else we can do for you!

